Saturday, June 20, 2015

Battle of Bekaa Valley Syrian vs Israeli 1982

The Battle of Bekaa Valley is a modern scenario from Battlezones by Bruce Rea-Taylor modified for my rules which are modified Panzerblitz and Modern Combat to use inches instead of hexes.  Below is how the battlefield was set up with the Israelis appearing from the south and the Syrians on the board with reinforcements coming from the North.


Next is the possible Israeli forces certain forces show up automatically and the rest appear as random reinforcements each turn.  The label behind the vehicle shows the unit type and the stats in PB Z format.


Here is the Syrian potential forces they start with a few on board and the rest come in as random reinforcements.


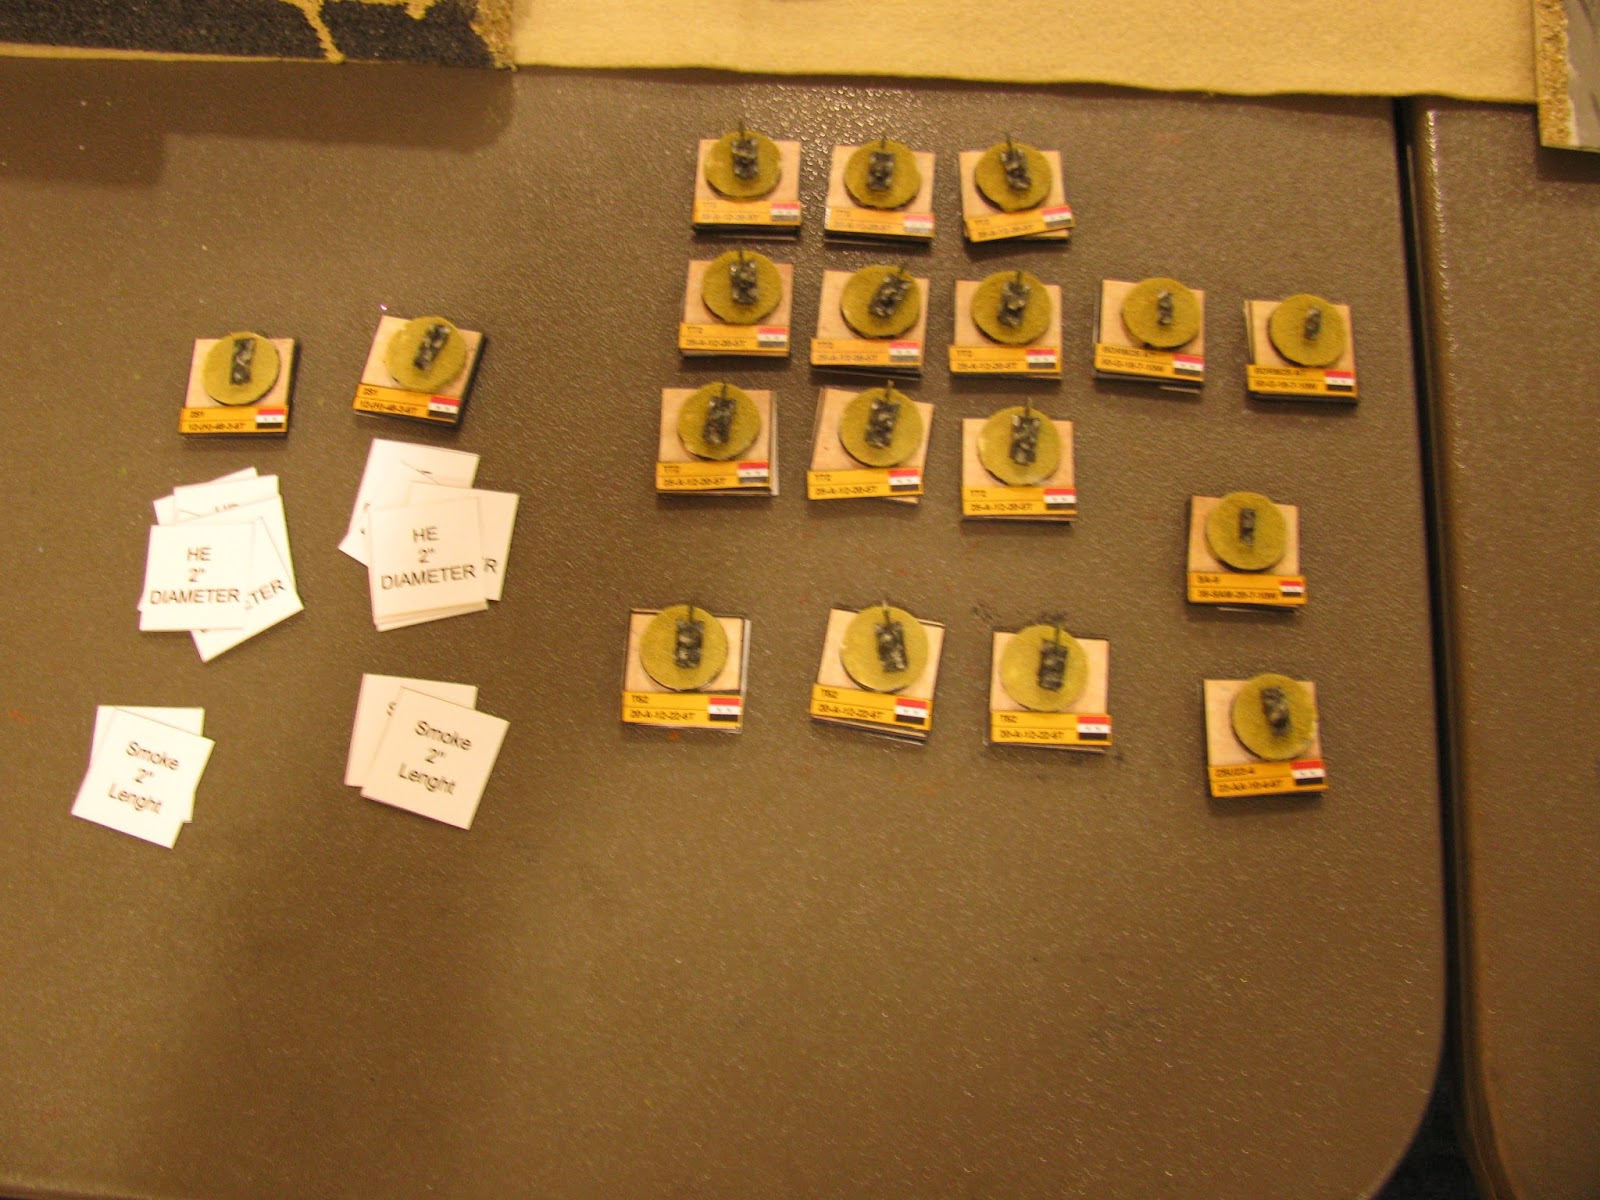
The counters show either the units carried or the artillery rounds available or specialized weapons that have 1 shot capability.

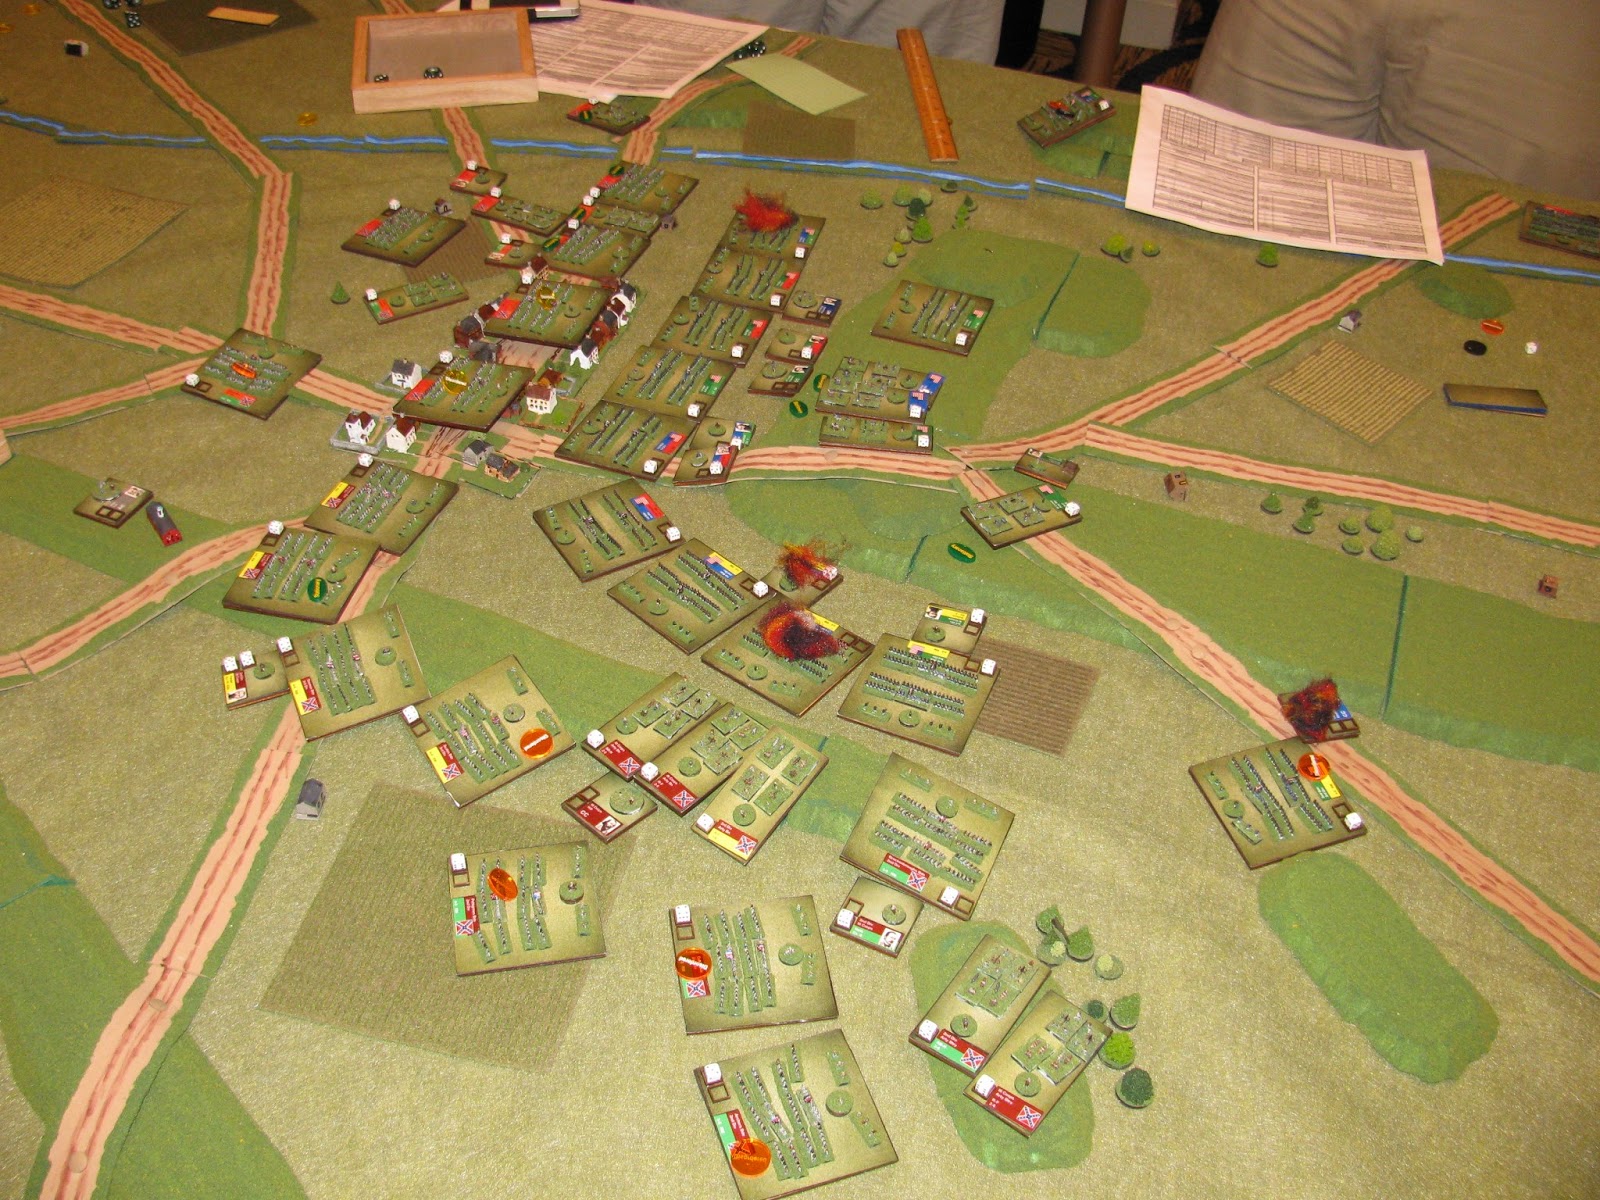
The Syrians were initially set up with a BTR60 company around the town shown below and they had a BRDM2S and a air defense battery on the hills behind the town of a SA-9 and ZSU23-4.


The Israelis moved first and this was their initial move up the road towards the town.


The Syrians reacted by blocking the Israeli observers with smoke.


On the next turn the Israelis got their first reinforcements a pair of Defender helios with TOW missiles and almost lost one to the SA-9 platoon luckily it missed.


During their turn the Israelis tried to pull a surprise thru the smoke and assault the town which failed as the units in the town opened up with the BTR60 and RPG7s and destroyed the M113 before it could deploy its infantry. But the Israelis got some revenge and destroyed the BRDM2S with a good tank shot.


The Syrians on their turn called in artillery fire on the Israelis which will not land until next turn plus some more smoke to block visibility of observers.  Also their first reinforcements show up a company of infantry in BMP1s


During the Israeli turn they react by pounding the town with artillery and gun fire destroying the BTR60 and disrupting the infantry in the village section but their own infantry and M113 are disrupted by the Syrians meaning they can't move or fire until undisrupted and with artillery coming in during the Syrian turn are in trouble.


The assault on the town begins to intensify but the Israelis pushed a M60 a little too far forward and the Syrians were able to disrupt it with a Sagger shot from a BMP1 also more artillery on the infantry outside the town.


Finally the Israelis have cleared out one section of the town and have another disrupted time for the assault but they are losing lots of infantry in the attempt.


The next Syrian reinforcements show up a company of T72s.


And the Israelis occupy part of the town but it doesn't look for long as they are disrupted and the Syrians are ready to counter assault.


A view from the Defender on over watch of the battle in the town.


The Syrians retake one sector of the town and are bringing firepower down on the other.  How long can the Israelis hold on.


The Syrians retake the town and another company of infantry in BMP1s arrives which seals the fate of the Israelis who only have some armor left and no chance of taking and holding the town.


Victory to the Syrians.  This game was fought at our local club meeting on Jun 14th 2015 and fun was had by all.  The terrain is mostly scratch built from foam strips and Styrofoam and the vehicles and palms are from Oddzial Osmy thru Pico armor.  Next scenario will be South Africans vs Cubans coming soon  ---  Gary

Tuesday, September 24, 2013

Battle of Wartenburg Volley & Bayonet 3mm

My newest project the Battle of Wartenburg on 13 Oct 1813 in 3mm for VnB at 1/2 scale.  This is a action between Prussians and France and her Allies the Italians and Württemberg.  Here is the board setup it is 2x3 feet in size.  The objective of the Prussians is to capture all three towns for a major victory and at least two for a minor.  The towns are at the bottom left Bleddin, at the top Globig and on the right Wartenburg with the Prussians entering on the bottom right roads.


Here are the Prussian forces.  The dice show the unit strength and also are a quick identifier by color of the unit functions.  White dice are normal infantry, artillery or cavalry,  green show skirmishers, blue show shock troops and yellow indicate militia.  From left to right the 1st Brigade, 2nd Brigade, 7th Brigade and the 8th Brigade.


And these are the French and Allies.  From left to right the 12th Div, the 38th Div and the 15th Div.


This is the game ready to setup the on board forces and start the first turn.


Here's the initial French setup, the overall look, then the 12th Div (French) setup around Wartenburg, the 38th Div (Wurttenburg) setup around Bleddin and the 15th Div (Italians) setup around Globig.


The game starts with the Prussians entering the board on the 0700 turn with the 2nd Brigade (equivalent size to a French Div).  It is slow moving as they have to maneuver thru the marsh.


The French tried to open fire with their artillery but it was out of range on to the next turn.  The Prussians continue to advance with the 2nd Brigade throwing their skirmishers out to protect the advance of the infantry.


And the first causalities are inflicted.  One Prussian skirmisher is lost and the French artillery in front of the town takes a hit.


The French on their turn take out two skirmisher stands.


0900 and Prussian reinforcements arrive the 1st Brigade and the Corp Commander while the 2nd brigade moves toward the French 12th Div.


Combat and the Prussian are able to destroy the French artillery across from them.


On the French turn one Prussian Brigade fails its morale and is damaged and disordered and the last of the skirmishers are destroyed while the Prussian grenadier brigade is almost eliminated by the return French musket fire.


Here is the end of the Prussian 1000 turn the 1st Brigade is still advancing against the Wurttenburg Div and the 2nd Brigade failed on its attempt to cross the stream and is exhausted but the 7th Brigade has just entered the board.


Next up the conclusion of the action.


Wednesday, May 29, 2013

1st Day of Gettysburg in 3mm at Kublacon

I ran two games of Gettysburg at Kublacon and both went very well and fun was had by all.

The first game was on Saturday afternoon.  It was on a 6x9 foot board with about 700 stands of figures fought using the Volley and Bayonet rules at full scale.  The objectives of the game were control of Gettysburg and Cemetery ridge

Here are the forces involved and the board setup:


The initial union setup with Buford's cavalry division awaiting the Confederate arrival and the 1st division of I Corp moving up in support.


The Confederate brigades of Heth's division advancing on the union with a brigade of cavalry moving to outflank them.


The first attack on the cavalry brigade fails to force the cavalry off the ridge line.


And the union cavalry charge in and force another brigade to rout throwing the confederate advance into confusion.


The union had delayed the confederate advance enough so they fell back on Gettysburg with the infantry moving thru the town to setup a defense north of the town.   But the confederate reinforcements came in at just the right place and was able to catch the union brigade in route march just coming out of the town causing them to rout back.


This is the view of the overall battle just before the union brigade was routed back thru Gettysburg.  The confederates hold the left and bottom and union reinforcements are arriving in the top right.

 
Both sides are getting ready for the battle for the town.


The confederates make the first assault but the union are able to force them out of the town so it is still contested while the union reinforcements threaten the confederate flank.


And the union are able to disrupt the confederate forces east of the town and once again were able to destroy the confederate brigades that were trying to take Gettysburg.


In the next turns both sides setup facing each other in front of Cemetery Hill.


The confederates assaulted both flanks with significant losses to the union included a Corp (Doubleday) and a division commanders lost in the fight.


But they hold as the confederates have no fresh forces to exploit the losses and the union are able to once again defeat a brigade in Gettysburg while XII Corp advances to support the defense.


It is looking desperate for the confederates as the union is forming a solid battle line behind Gettysburg and may be able to retake the town for a complete victory.


But the confederate reinforcements from Anderson's division arrive at just the right time and are able to keep the union from retaking the town thus the battle ended as a draw with a good time had by all.


It took about 2 hours to setup the battle and we were able to fight it to a conclusion in 6 hours with a 30 minute dinner break.   Next up the same battle fought on Sunday but with a different conclusion.