Tuesday, April 30, 2013

3mm Napoleonics New Reinforcements for the French

These are my latest 3mm napoleonics.  Just finished 3 brigades of French dragoons.


More to come working on my Austrian artillery, hussars and the Italian guard.

Warhammer Quest

Picked up my old copy of Warhammer Quest the other night and played a few games.

Here's how one turned out and most of the others also.

Every time I seemed to get to a room I would run into the monsters in the room then one after another on each turn I would roll a one and more monsters would appear.  This was the end of one of the games.


I forgot how much fun and how frustrating this game can be at times the bottom picture you can see the final monster munch.   Better luck next time.

ATZ Game Boards

Here's a couple of game board setups for All Things Zombie.

A Suburban board setup.


And a Rural.


These are setup for half scale with 15mm miniatures.  The boards are 18" square and with the modular building I found on eBay it makes it really easy to setup up a town section.   The fields also came from eBay from a vendor who specialises in terrain for all types of gaming.

Friday, April 26, 2013

3mm ACW Battle of Shiloh

Here's the action of a civil war battle that I fought last year and am finally posting.

Initial board setup the hexes are 4" inches across and the board is 3x4 feet.  This was played with Volley and Bayonet rules at 1/2 scale.


The Rebels enter the fray and the board after the first turn.


A View from the Confederate lines towards the Union defenders.


The Confederates advance while the Union trys to setup a defense


While the Rebs maneuver the first blood is happening on the Union left which looks in trouble.


The Rebel firepower is devastating routing and destroying the first division they face.


With a Confederate division entering on their flank it doesn't look like the Union will hold.


But the Union troops around the church are holding and the second line of defense is setting up to give the Rebs a warm welcome.


The Confederates start to flank the Union.


But the Union defense around Shiloh church holds and the Rebels are being held on their right.  Sorry for the quality of the next pictures but my camera ran out of space and I had to use my IPhone for the final pics.


The Confederate advance stalls while the union adjusts their lines and the battle around the church continues.


The Union counter attacks in the center and catches a Rebel battery in the flank and destroys it.


The center blows up for the Confederates which spells the doom of their reaching their objective with any strenght of force.


These are the final positions of the battle as the Rebels decided that the losses at Shiloh church were too much and they couldn't continue.


Overall it was an enjoyable battle which was played by four members of my local gaming club.  Hope you enjoyed this action.

Friday, April 19, 2013

Part 3 - The Conclusion of ATZ Haven Protection Scenario

Here's the last turns of this game:

Turn Twenty-one - The guard move first and open fire for some more zombies cut down while the zombies move in but its too far for them to get into melee.


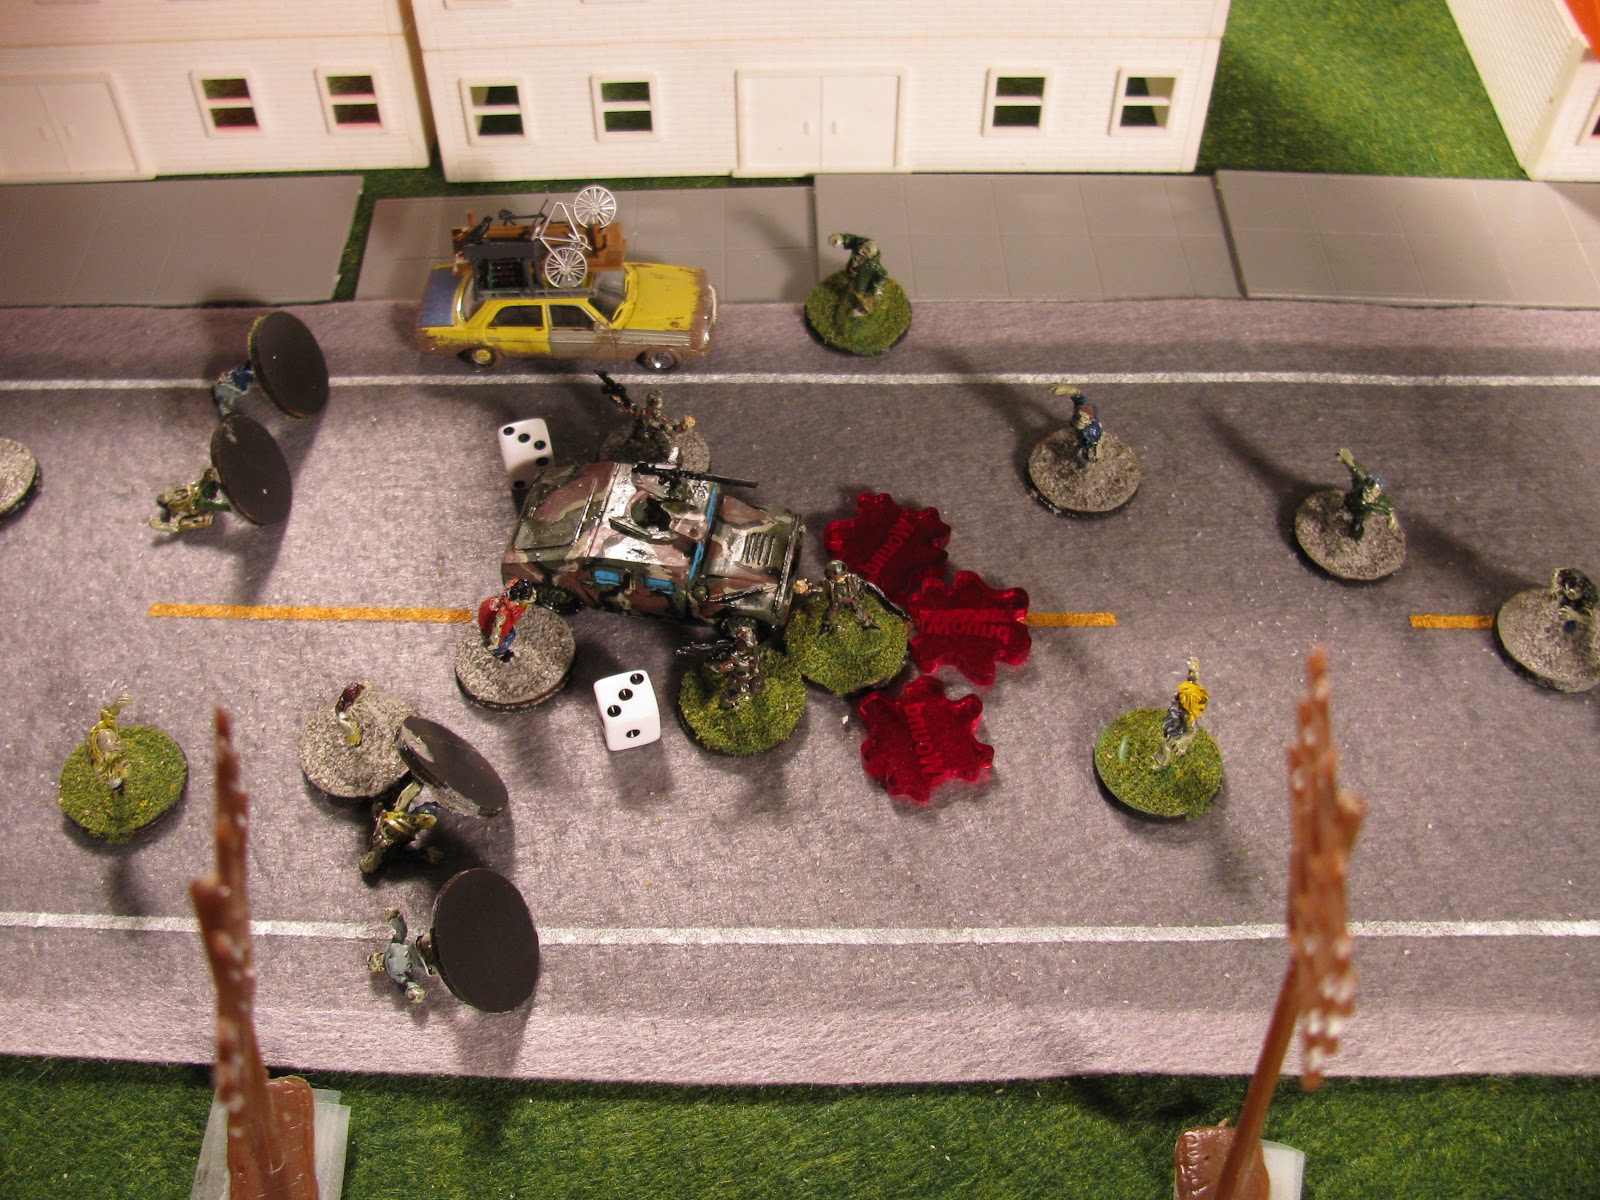
Turn Twenty-two - The guard falter and can't do anything so the zombies move in for the attack but the team leaders fight back and knock off the attackers with the other soldier locked in combat with a bunch of dead.  While the civilians try to flee but are attacked by the zombies who cna't get at them.


Turn Twenty-three - Woes for the guard they can't decide what to do but the zombies can and in the melee both a team leader and soldier and knocked out of the fight.  With the other team leader locked in combat with the zombies it doesn't look good for the guard but at least the civilians got away.


Turn Twenty-four - Luckily for the guard the zombies are frozen so the team leader and the driver are able to move the wounded into the Humvee while the team leader attacks the zombies in front of him and cuts them down.


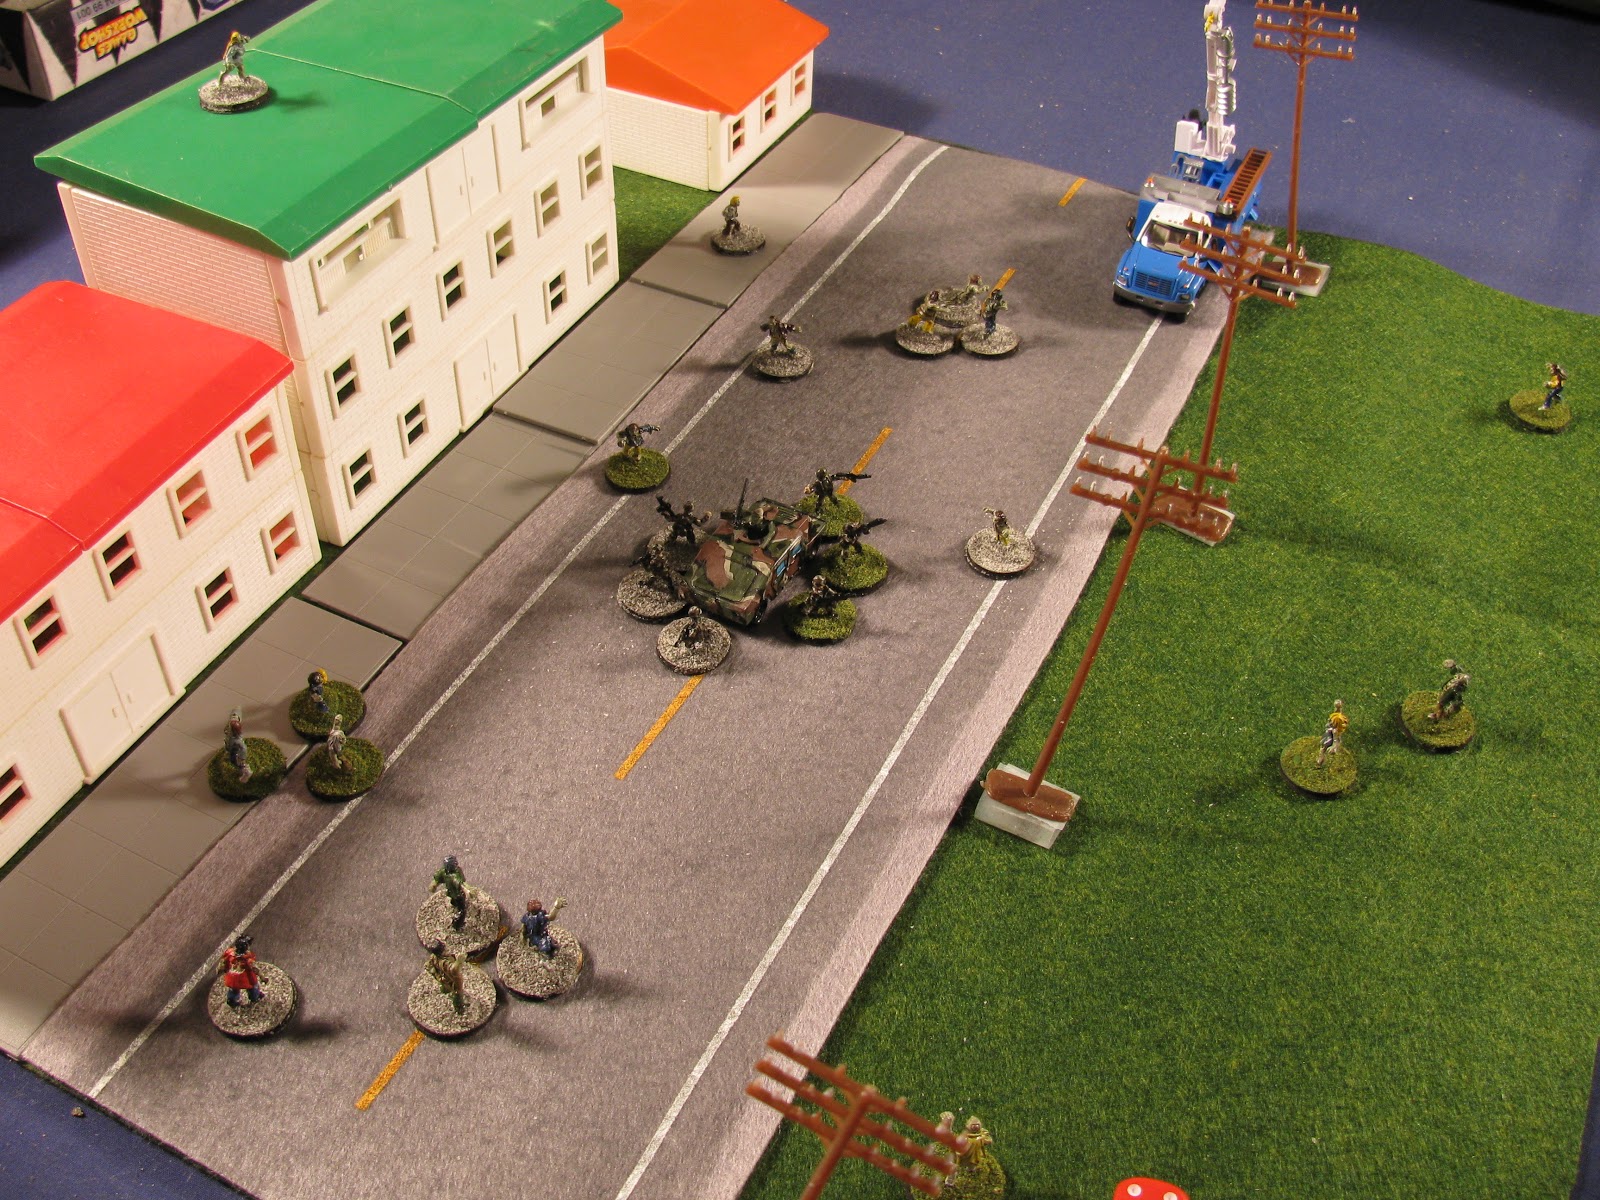
Turn Twenty-five - The guard activate first and jump in the Humvee and attempt to run down the zombies in front of them who dodge out of the way.  While the rest just shamble after the vehicle.


Turn Twenty-six - Zombies only activate and attack the Humvee but are blown away by the guard while the mob moves up.


Turn Twenty-seven - Double 1's rolled and the wire is attached.   Time to get out of Dodge.

Turn Twenty-eight - Zombies only turn and they attack the Humvee but are driven away by the team leader and held off by the driver.


Turn Twenty-nine - Double 6's and a sniper hits the driver and takes him out of the fight.

Turn Thirty - The worst happens and the guard doesn't activate.  The zombies move on the Humvee and overwhelm the team leader taking him out of the fight and the entire crew devoured by the zombies but at least the power was restored.


Aftermath - On a good note I rolled for the repair crew and they were able to get away guess the zombies were too busy with the guard.

About the game.  I played All Things Zombie in half scale so the board is 18" square.  I used 15mm miniatures and HO vehicles.  The rules are from www.twohourwargames.com while the miniatures came from www.rebelminis.com http://khurasanminiatures.tripod.com/index.html and http://www.oldglory25s.com/  the buildings came from eBay an old kids town construction set and the road was from www.hotzmats.com  

Hope you enjoyed this scenario as much as I did playing it.   Next week I'll have a new scenario Law & Order Patrol.

Gary


Wednesday, April 17, 2013

Part 2 - turns 11 - 20 ATZ Haven Protection Scenario

Here's the next set of turns:

Turn Eleven - Zombies are just milling around and the guard takes the advantage and kills some more


Turn Twelve - Zombies still doing nothing so the guard takes out some more.


Turn Thirteen - Zombies finally move and it catches the guard off balance.   Luckily none of the zombies are close enough to attack they just move closer.


Turn Fourteen - Double 3's for activation and a vehicle is ready to enter and the repair crew manage to connect the new wire

Turn Fifteen - Guard acitivates only and cuts down some more zombies and the boom is coming down to move the repair crews vehicle.


Turn Sixteen - Double 5's no event no activations.

Turn Seventeen - The guard activate first and the boom is down ready for the truck to move and they manage to knock down a few more zombies.  Durning the zombies move they attack and wound the SAW gunner and force the Team Leader to cheat death to save his life. During this a civilian car pulls up and the guard orders them to get out of the area which they happily agree with.


Turn Eighteen - Luckily the zombies don't activate so the guard can pull the wounded gunner into the vehicle and then open fire and melee the zombies.   The guard team leader was so upset with the last combat and cut down the zombies facing him while the driver for the repair vehicle finally gets up and moves the vehicle to the next pole.


Turn Nineteen - Zombies are still milling around and the guard attack but one runs out of ammo at the worst time.  The repair crew starts to raise the boom for the repair.


Turn Twenty - Zombies still can't figure out what to do but the guard can one reloads and the other fire while the repair crew move the boom into position.


This ends this installment find out how the guard and repair crew finishing up in the last part coming soon.  Hope you enjoy this action and much as I did playing it.   Gary


Monday, April 15, 2013

Part 1 - All Things Zombie Haven Protection Scenario

Played a scenario from ATZ Haven solitaire last night.   The scenario is to protect a crew trying to repair a broken power line with a squad of National Guard troops.  It took 30 turns and lasted about 3 hours.  This is the setup for the scenario.


Turn One - The guard arrives on the board and the first zombies are activated.


Turn Two - Guard attacks the zombies but don't have much luck and the engineers start to raise the boom to fix the wire.   After all the shots and vehicle noise zombies appear from all around.


Turn Three - Double 5's no one activates and a civilian car appears to enter the area.


Turn Four - The zombies move first and charge the guard and engineers.  One is cut down but the others are stuck in melee.   The civilian car moves up next to the guard who order it to get out of the area.


Then the guard open fire on the zombies and can't hit only one killed and the engineer driving the repair truck hides in the cab from the zombies.


Turn 5 - Double 5's rolled no activation but the engineers remove the broken wire.

Turn 6 - Guard activate first and finally kill some zombies.


On the zombie turn it's melee time they move in and get the better of a guardsman who falls dead to the zombies.   Time to feast.   The civilian car tries to get away but the zombies attack and are killed by the car occupants.


Turn 7 - Guards activate but the zombies don't.   The guard opens fire and kills some more zombies but lose a man wounded in a melee.


Turn 8 - Zombies don't activate again lucky for the guard cause the driver of the Humvee can grab the wounded soldier and pull him inside the vehicle while the rest of the guard attack.


Turn 9 - Zombies are dumbfounded just milling around and the guard shoot them up again.


Turn 10 - The guard fails to activate but the zombies do and attack the guard but the guard fights back and kills them while the civilian car gets off the board.


Next part to come soon.   This has been a great game so far really enjoying the action.